Reviews
User Score
Rate This
Descriptions:
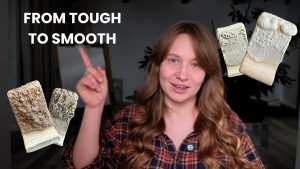
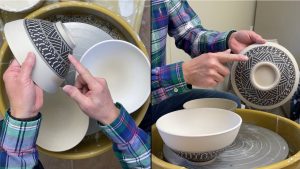
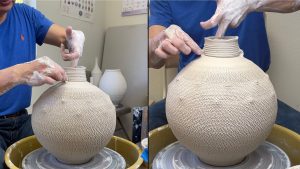
In this week’s video I’m demonstrating a relatively simple technique, it’s one that I’ve come to use a lot in my work as of late, throwing and trimming steps and ledges on my pots to help unify my body of work. I’m a not a potter that does much decoration, yet these marks are a great way of breaking up shapes, creating areas where glazes will interact nicely over. It’s nothing revolutionary but I’m asked enough about how I go about throwing these and there is ‘some’ misinformation online about how I actually go about doing this. I hope you find it helpful!
Thanks SO much for watching!
HOW TO MAKE A CHUCK: https://youtu.be/_ishJr-UGfU
HOW TO LIFT POTS OFF THE WHEEL: https://youtu.be/05CsVxlULo0
📖 • ORDER MY BOOK: https://geni.us/bymyhands
🏺 • You may also be interested in my ‘A Beginner’s Guide’ series, which you can find here: https://www.youtube.com/playlist?list=PL2WJhtTF0eGhQwf8g2LHcom_KrvJpH_JT
Timecodes:
0:00 – Introduction
1:42 – Clay preparation
2:33 – Throwing the first shape
4:45 – Creating a ‘ledge’
6:59 – Creating a ‘step’ on a bowl
8:26 – Creating a ‘step’ on a cylinder
9:21 – What happens if you throw too thinly
9:52 – Discussing different types of rib for this
12:25 – Clean up
•
Find out much more via the link below!
https://linktr.ee/floriangadsby
•
Get in touch here: https://www.floriangadsby.com/contact
Sign up to my newsletter here: https://www.floriangadsby.com/newsletter