Reviews
User Score
Rate This
Descriptions:
📢 Shop Update: The mugs in this video is now available in my Ceramic Art Store http://shop.wanyingliang.com/
Is your kiln throwing an error code or not reading temperatures correctly? It might be time to replace the thermocouple!
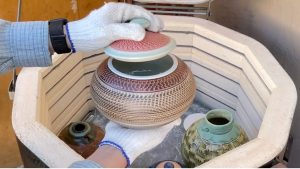
In today’s tutorial, I’ll walk you through the entire process of swapping out a broken thermocouple in a ceramic kiln. We’ll start by testing the replacement part using a blowtorch and a multimeter, then move step-by-step through the installation on the control panel. Finally, we’ll run a bisque firing and a Cone 6 glaze firing to test the new setup.
I also placed pyrometric cones at the top, middle, and bottom of the kiln to check for temperature accuracy—and the results gave me some great insights into the temperature differences inside my kiln!
⏳ Timestamps:
• 0:00 – Intro & Testing the thermocouple with a blowtorch
• 1:50 – Testing the thermocouple with a blowtorch
• 2:24 – Removing the control panel & old base
• 2:36 – Installing the new thermocouple
• 3:40 – Powering on & checking the display for errors
• 4:00 – Bisque firing results & cone check
• 4:30 – Cone 6 Glaze firing test
• 5:40 – Outro & Final thoughts
👇 Let’s chat in the comments! Have you ever replaced a thermocouple yourself? What kind of problems have you encountered while firing your kiln? Let me know below!
If you enjoyed this video, please Like and Subscribe to my channel for more ceramic art content!
Thanks for watching and I’ll see you soon with a new upload.
Website: http://wanyingliang.com
Instagram: https://instagram.com/wanyingliang
My Ceramic Store: http://shop.wanyingliang.com/
Liang Ceramic Studio Youtube Channel